


 Picture
Pictures are very important for the design of your website. The picture item in Goldfish has smart functions for processing and showing pictures.
You can add a picture item to every page area or area template. To add a picture item, edit the content of a page area or area template and drag the picture item from the elements panel to the editor.
![]()
A picture item displays a picture on your website. The picture item which you have added before is still empty. A question mark icon is displayed. To fill the item with a picture, enabled Picture > Picture on the properties pane and click on the question mark icon besides.
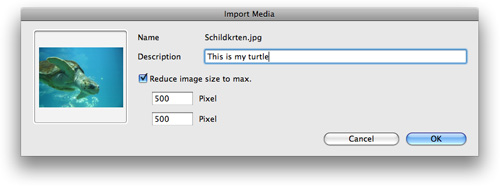
Choose a picture from your hard disk. The media import window is displayed. Here you can enter a description (the description is used as alt text in the html code). You can also resize the picture (recommended for big pictures, which come directly from a digital camera).
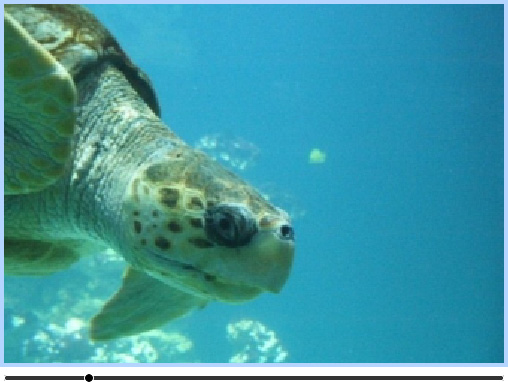
In Goldfish you can change the clipping of the picture. Start the edit mode with a double click on the picture. Now you can zoom with the slider into the picture and drag the displayed clipping.
 This is only possible if Picture > Calculate New On Export on the properties panel is activated.
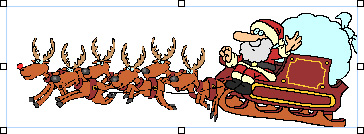
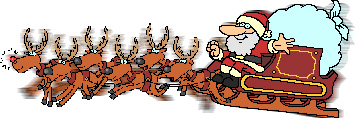
Attention if you add transparent gif images or gif animations: Deactivate always Picture > Calculate New On Export. Otherwise the picture won't be exported correctly and the animation will be destroyed.
Properties for Picture
These properties can be set for a picture item. Select a picture item to show its properties.
| Item > Left | Sets the distance from the left side of the parent element in pixels. |
|---|---|
| Item > Top | Sets the distance from the top side of the parent element in pixels. |
| Item > Width | Sets the width of the item in pixels. |
| Item > Height | Sets the width of the item in pixels. |
| Item > Padding Left | Sets the distance from the left side of the item to the content in pixels. |
| Item > Padding Right | Sets the distance from the right side of the item to the content in pixels. |
| Item > Padding Top | Sets the distance from the top side of the item to the content in pixels. |
| Item > Padding Bottom | Sets the distance from the bottom side of the item to the content in pixels. |
| Item > Background Color | Select a background color for the item. |
| Item > Background Picture | Select a background picture for the item. With "Repeat", you can choose how the picture will be displayed. |
| Item > Border Left Width | Displays a border on the left side of the item in the choosen width (pixels). |
| Item > Border Left Color | Select a color for the left border. |
| Item > Border Right Width | Displays a border on the right side of the item in the choosen width (pixels). |
| Item > Border Right Color | Select a color for the right border. |
| Item > Border Top Width | Displays a border on the top side of the item in the choosen width (pixels). |
| Item > Border Top Color | Select a color for the top border. |
| Item > Border Bottom Width | Displays a border on the bottom side of the item in the choosen width (pixels). |
| Item > Border Bottom Color | Select a color for the bottom border. |
Item > Add HTML Code  | Add custom html code to the item to extend Goldfish's functionality. |
| Item > Add CSS Code | Add custom css code to the item. The code will be stored in the css section of your website. You can't change the css code of internal items, but you can use the css code in your custom html code. |
| Item > Identifer (Id) | Sets the value for the "id" property. You can use this id to access the item with JavaScript. |
| Picture > Picture | Select the picture, which you want to display. |
| Picture > Calculate New On Export | Calculates an optimized version of the picture in the correct size and quality for your website. Deactivate this for transparent gif images and gif animations. |
| Picture > Edit Content | Click here to change the clipping for the picture. This is only available if Picture > Calculate New On Export is enabled. |
| Link > Use as Link | Uses the picture as link. Select a page where the link should lead to. |
Visual Effects
You can specify a visual effect, if your site visitor interacts with the picture link (e.g. change the color if your site visitor moves his mouse over the menu item). The following properties are the same for Moving mouse over link effect and Clicking on link effect.
| Effect > Change Picture | Changes the picture. Select the picture to which should be changed. |
|---|
Konnte diese Hilfeseite Ihre Fragen beantworten?
Wenn Sie zu diesem Thema noch weitere Hilfe benötigen oder in diesem Kapitel eine Information fehlt, schreiben Sie uns.